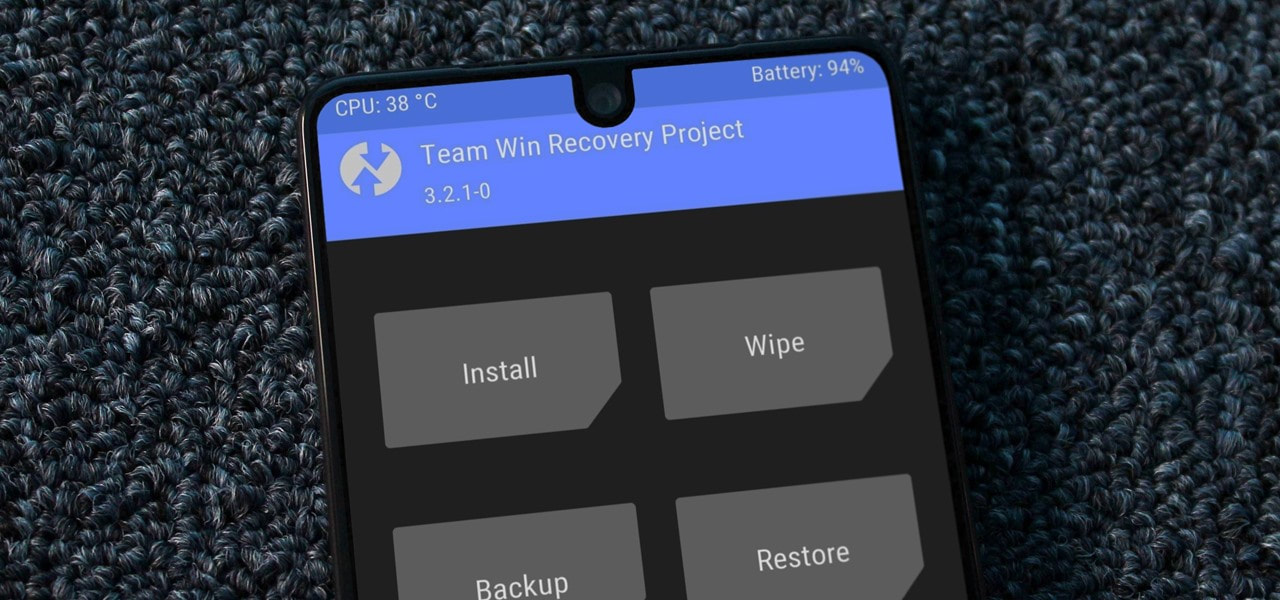
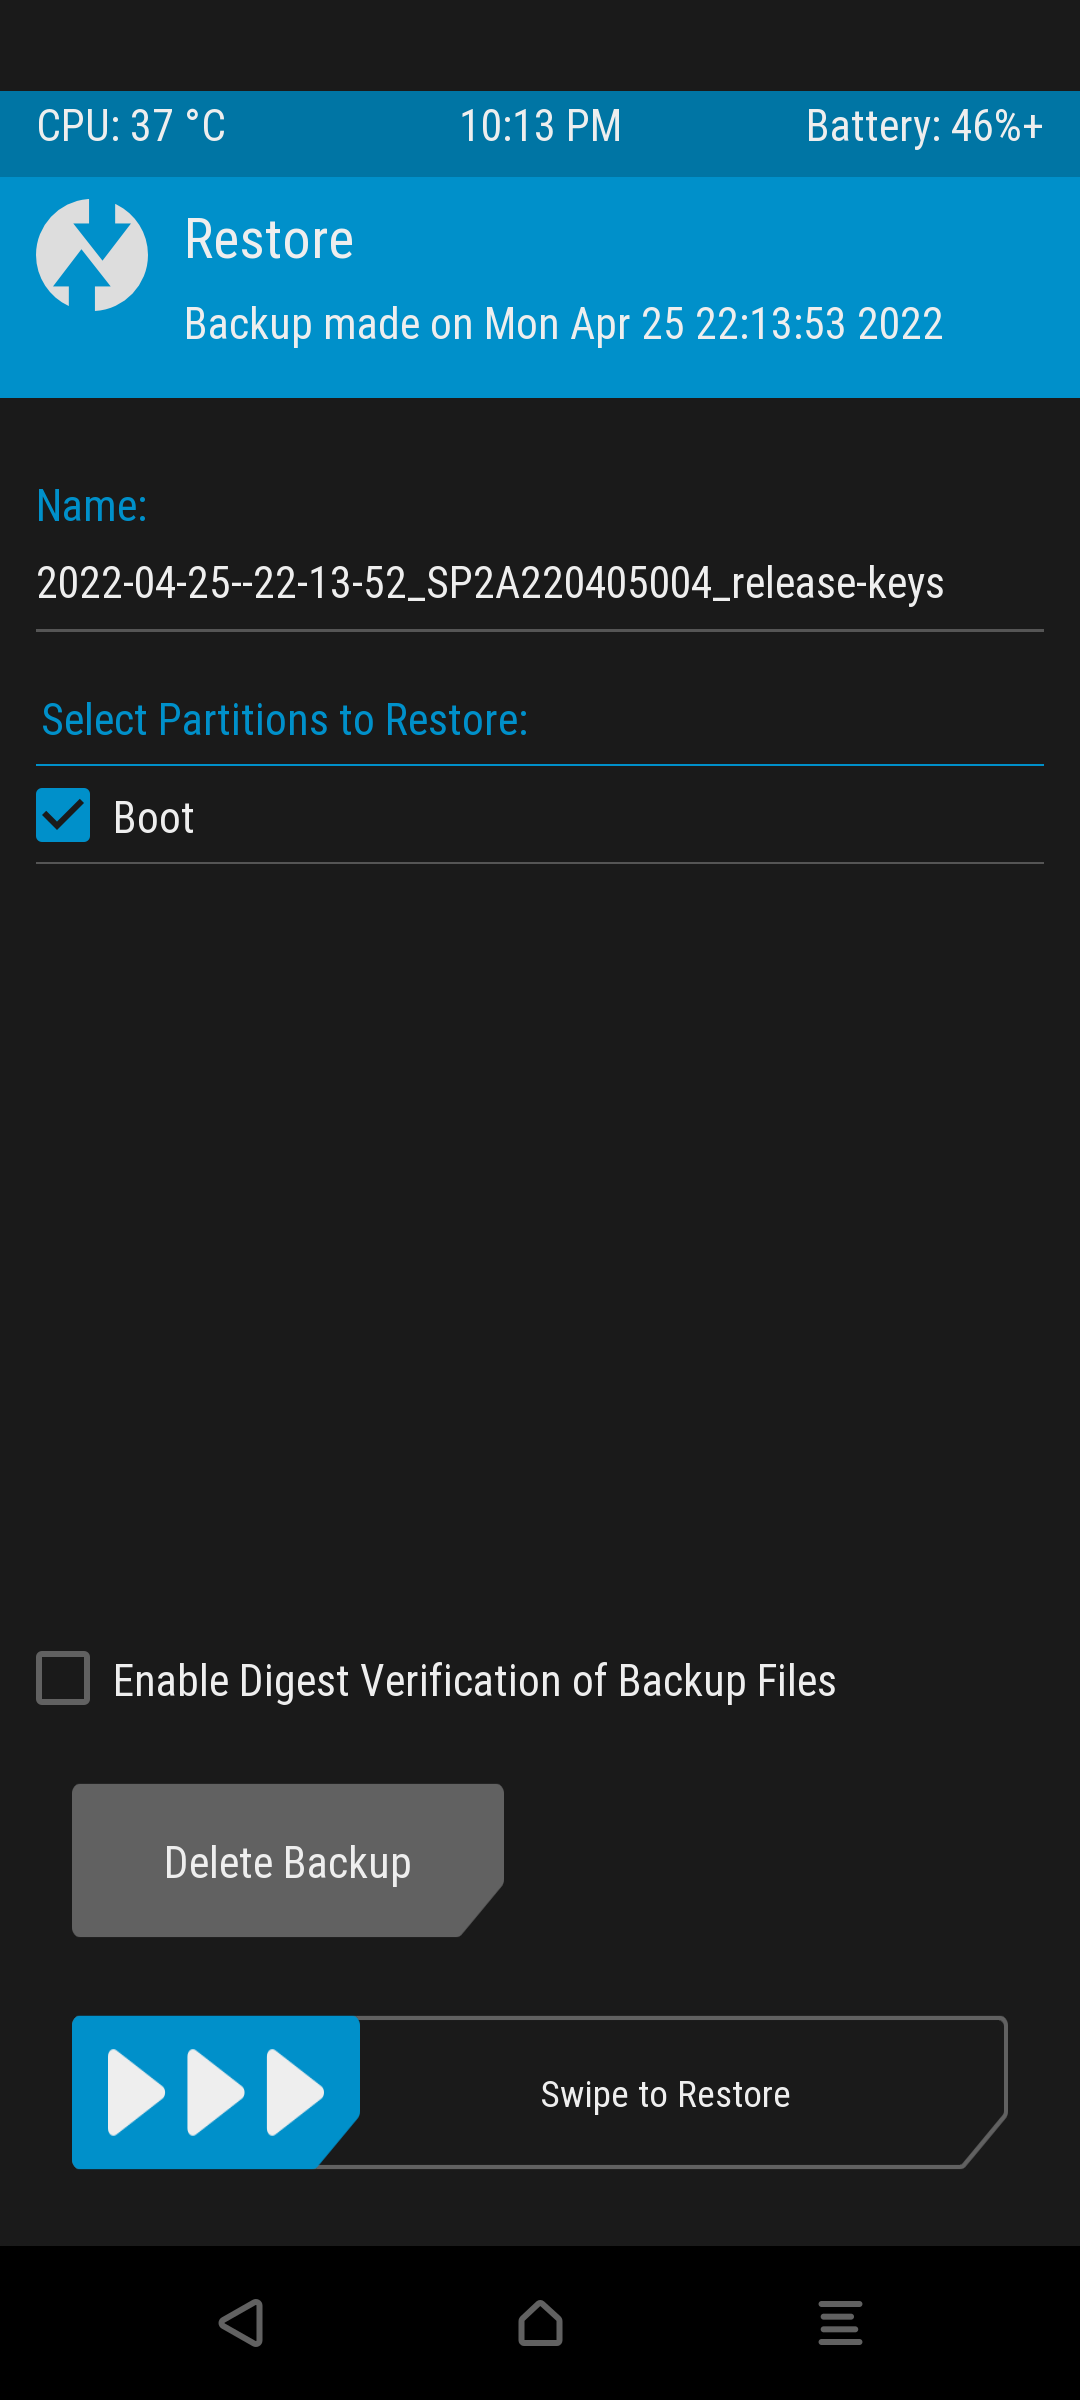
In one of our recent posts, we guided you to unlock the bootloader of your android device so that you can try different mods. However, the basic and the first step to making installing mods easily is to install a custom recovery that allows you to access different partitions of your device and helps in flashing zip files, custom ROMs and firmware without any hassle. So if you are interested in installing TWRP on your android device and how to use it, then this guide is just for you.
All Android devices are shipped with a recovery environment preinstalled. This recovery software can be used to restore the device to factory default settings, update its operating system, and perform other diagnostic tasks. The stock recovery is a minimal, limited system which doesn't allow unsigned OTAs or firmware to be flashed.
Custom Recovery
A custom recovery is a third-party recovery environment. Flashing this recovery environment onto your device replaces the default, stock recovery environment with a third-party, customized recovery environment. These 3rd party recoveries allow flashing of zip files, accessing system file and modifying it. CWM (ClockWorkMod), philz touch and TWRP are the most popular examples of such recoveries.
Recoveries like CWM are no longer developed or preferred as they are outdated and require physical buttons to navigate
TWRP ( Team Win Recovery Project )
Team Win Recovery Project (TWRP) is a touch-based custom recovery . Unlike others, this recovery allows touch screen control of the device. TWRP even supports themes. TWRP offers ROM installation and backup features the stock recovery environment doesn’t.
Why to Install a Custom RecoveryCustom recoveries are most useful when you’re installing custom ROMS on your device, as they provide backup, restore, and ROM-flashing features you’ll need.
How to Install TWRP On Any Android Device
How to Install TWRP On Any Android Device
- Warning: Flashing a custom recovery require yours an unlocked Bootloader. It may also make the device unstable if not done properly or may completely brick the device. Install TWRP at your own risk and Read each step carefully.
- Any Android device with an Unlocked bootloader
Note: If you own a Xiaomi/Redmi/Poco Device then you can learn How to Unlock Bootloader from Here - ADB and Fastboot Drivers installed on your PC
Note: Downloads ----> Windows
-----> For Linux: Type these commands on terminal on basis of your linux system Debian / Ubuntu
--> sudo apt install android-tools-fastboot
Centos / Fedora / openSUSE
--> sudo dnf install android-tools
ArchLinux and derivatives
--> sudo pacman -Sy android-tools - Check twrp.me to check list of officially supported devices and download the latest version available or you can search for an Unofficial TWRP image for your device
- Enable USB Debugging: On your device, go into Settings -> About and find the Build Number. Tap on it 7 times to enable Developer options. Go back to the Settings menu and find the Developer options entry (on older Android versions), or tap on System -> Advanced, and go into Developer options. Finally enable USB debugging.
- Check the Partition Scheme of your device: the installation process depends on the target device’s partition scheme. Users can easily check that out using Treble Info App or check it by running the following command in ADB shell or a Terminal Emulator app:
getprop ro.build.ab_update
This will return “true” if the device supports A/B partitions. On legacy A-only devices, the output should be blank.
Case I: Devices with A-only partition scheme
If your device uses the A-only partition scheme, then you can directly replace the stock recovery image with TWRP via Fastboot.
If your device uses the A-only partition scheme, then you can directly replace the stock recovery image with TWRP via Fastboot.
- Download And Copy the twrp image to a suitable location.
- From your PC, open a command prompt/terminal and type:
--> adb reboot bootloader - Rename the TWRP image to twrp.img and type:
--> fastboot flash recovery path/name.img
where path represents the path and name is the actual name of twrp file
--> fastboot reboot- Many devices will replace a custom recovery automatically during first boot. To prevent this, search to find the proper key combo for your device to enter recovery. After typing ‘fastboot reboot’, hold the key combo and boot to TWRP.
- You can also try to temporary boot the downloaded image using the following command:
--> fastboot boot twrp.img - Once TWRP is booted, TWRP will patch the stock ROM to prevent it from replacing TWRP. If you don’t follow this step, you will have to repeat the install.
- Congrats! TWRP is now successfully installed on your device.
Case II: Devices with A/B partition scheme
With devices having A/B partition scheme, the recovery and boot image both are merged. Due to which, you need to temporarily boot TWRP first and then perform the permanent installtion within the recovery
With devices having A/B partition scheme, the recovery and boot image both are merged. Due to which, you need to temporarily boot TWRP first and then perform the permanent installtion within the recovery
- Copy the TWRP image to a suitable location on your PC. You can even put it on the folder where the Fastboot binary is located.
- Download And Copy the twrp image to a suitable location.
- From your PC, open a command prompt/terminal and type:
--> adb reboot bootloader - To boot with twrp enter:
--> fastboot boot name.img - Copy the twrp.img file to the device by using mtp or Enter:
--> adb push name.img /sdcard - Navigate to the Advanced menu of TWRP and tap on “Install Recovery Ramdisk”:
7. Install recovery ramdisk option under TWRP
8. Choose the twrp.img file from the device’s internal storage.
9. Swipe to install and then reboot.
10. TWRP is Now Successfully Installed On your Device
11. Enjoy :D
8. Choose the twrp.img file from the device’s internal storage.
9. Swipe to install and then reboot.
10. TWRP is Now Successfully Installed On your Device
11. Enjoy :D
How To Flash A Zip File Using TWRP
- Place the file in your internal storage of the device using MTP or adb
- Click On Install
- Locate the file you want to flash
- Select it and Swipe to Flash
- Wait till flashing is completed
- Done...Now Enjoy
Useful Features
- Backup And Restore
While Installing custom roms, it is advised that users take backup of the data as it is erased often during the process. It is a very useful feature and saves you from wasting your time from setting up your device time and again.
- Wipe And Repair/Resize Partition
- This option allows you to wipe/format different partitions of your device. The Format Data option is like Factory Reset of The Device
- While Installing custom roms it is often required to do a clean flash. You can do so by Wiping the System Partition and in some cases vendor partition of your device
- Sometimes a partition gets corrupt or cannot resize itself which leads to errors while flashing files. You can easily handle this problem by Repair/Resize Option in TWRP
- ADB Sideload
To Perform Flashing Through ADB sideload:-
-> Goto Advanced And Select ADB Sideload Option
-> Now swipe to start sideloading
-> From you PC type
* adb sideload nameofzipfile.zip
-> Flashing process will start
-> Wait till Done and you are good to go
- Mount
By default the system partition is mounted as read only which doesn't allow modifying the system file. You can easily deal with problem by using the Mount Option In TWRP. With it, you can mount different partitions of your android device and make modifications as per requirements
- File Manager
File Manager feature allows you to access system partition files easily. You can easily copy, cut, delete or rename any file in the partition easily. You can find this option in Advance section of TWRP
So this Is the end of our guide. Hope it helps you. If it does, Don't Forget to share it with your friends!!


 RSS Feed
